Making a Pom-Pom
Getting a good, fat, puffy pom-pom is a challenge. And sometimes a little purchased help makes all the difference. At CEY, we particularly love Clover’s pom-pom maker.
Available in several sizes, Clover’s little machine makes especially full and even pom-poms. However, if you don’t want to leave home to search for the Clover gadget, here are instructions for a homemade cardboard pom-pom maker.
With a little patience and diligence, you’ll be able to make pom-poms that are quite respectable.
Here are instructions:
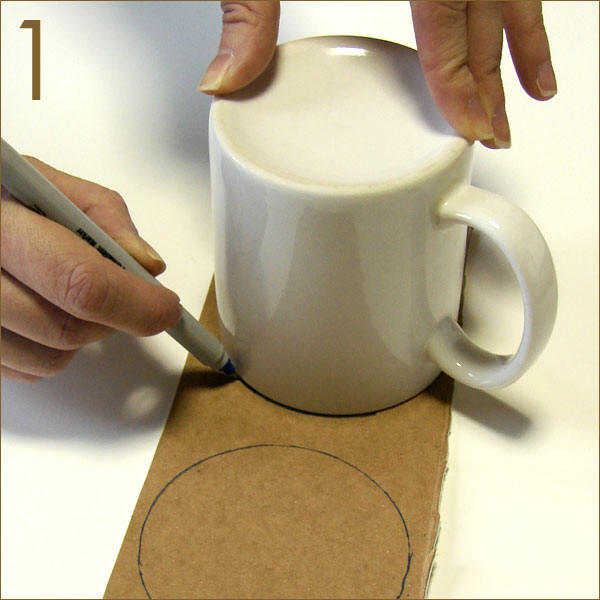
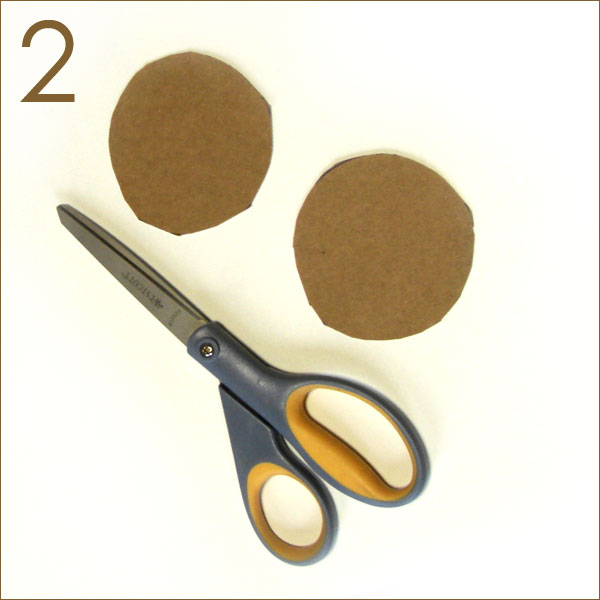
First, out of cardboard, cut two identical circles. (Tracing around the top of a glass or mug is an easy way to make a nice even circle.)
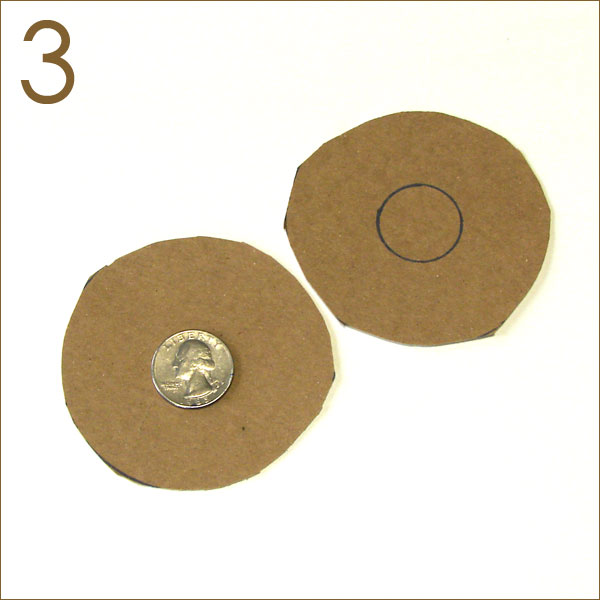
The diameter of the circles should be a little larger than you would like your finished pom-pom to be. (Photos 1 and 2) pattern image pattern image Next, using a utility knife, cut a smaller circle from the center of the larger circles.
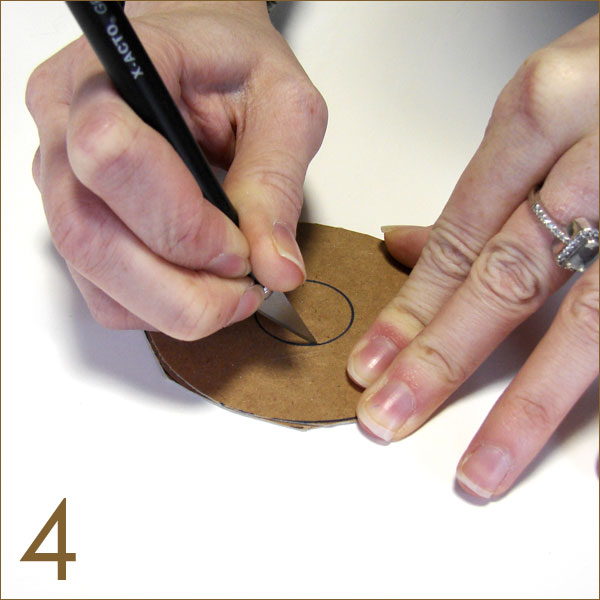
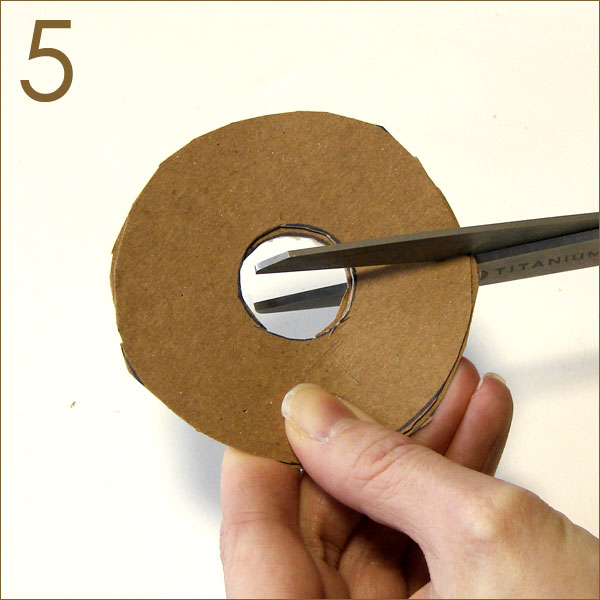
The size of the smaller circle cut out can be adjusted for the size of the pom-pom and the thickness of the yarn. (For our mug-top-traced outer circles, we traced around a quarter.) (Photos 3 and 4) pattern image pattern image Holding the two rings together, cut a slit through both rings all the way to the center.
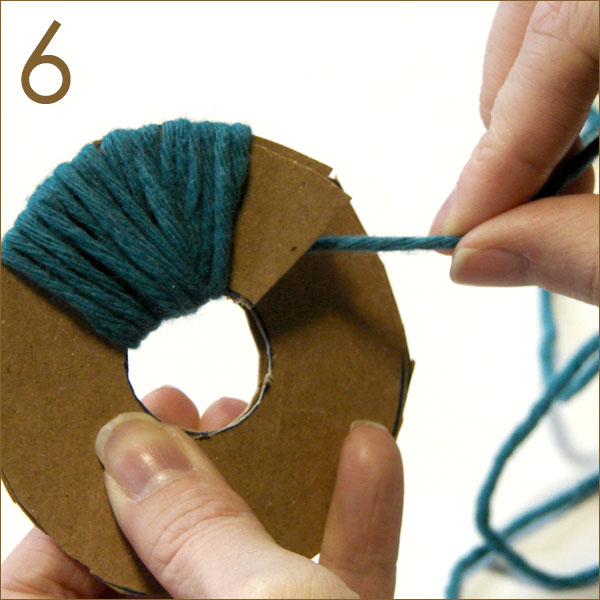
(Photo 5) Holding the two cardboard rings together, wrap the yarn around the rings through the slit that was cut.
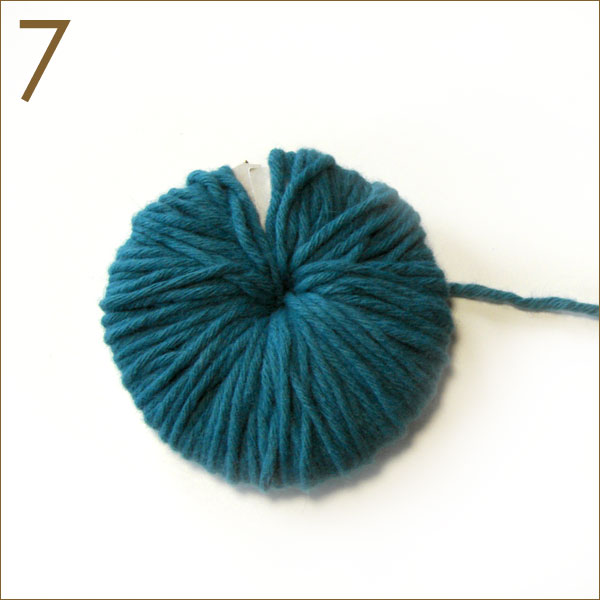
(Photo 6) pattern image pattern image Work the yarn wraps very close together with even tension and wrap until the center hole is filled with yarn.
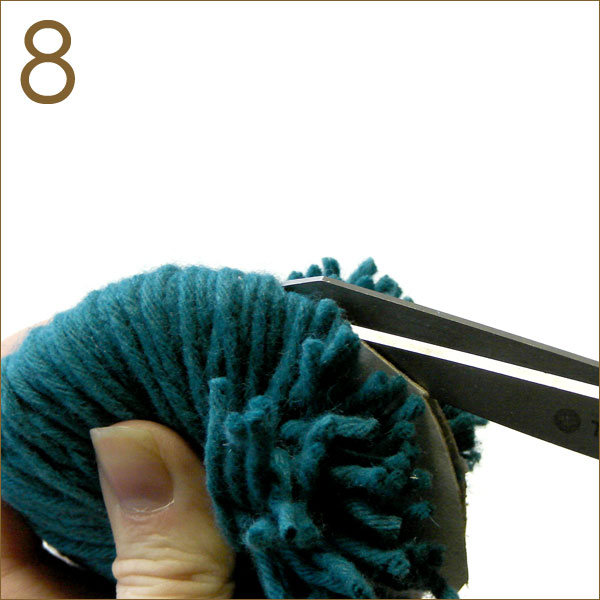
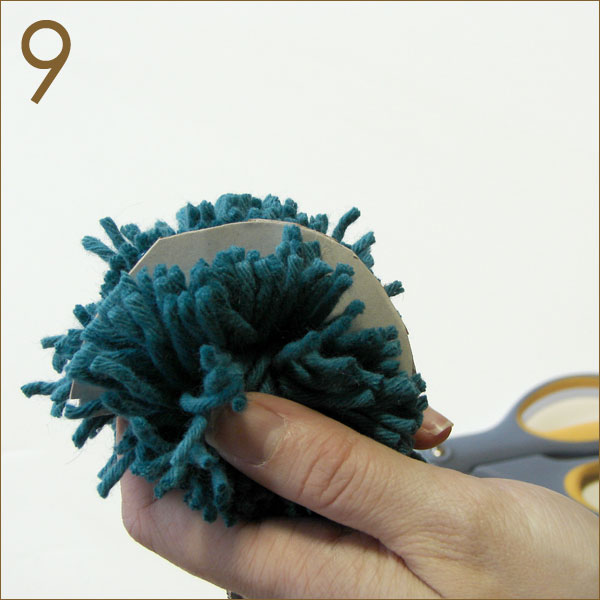
(Photo 7) pattern image When you can’t fit in anymore wraps, place the tips of a pair of scissors between the two cardboard circles and cut the yarn all the way around, keeping the scissors between the 2 rings while cutting.
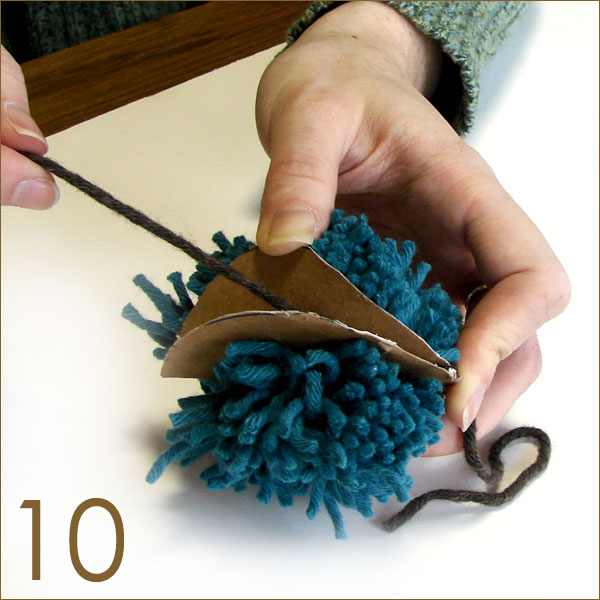
(Photos 8 and 9) pattern image pattern image After cutting around, slide a length of yarn (the piece should be long enough to tie the yarn together at the center of your pom-pom with length left over to attach or hang the pom-pom) between the two cardboard pieces and knot tightly around the yarn coming from the center hole.
This step maybe repeated if the cut yarn pieces do not feel as if they are securely fastened.
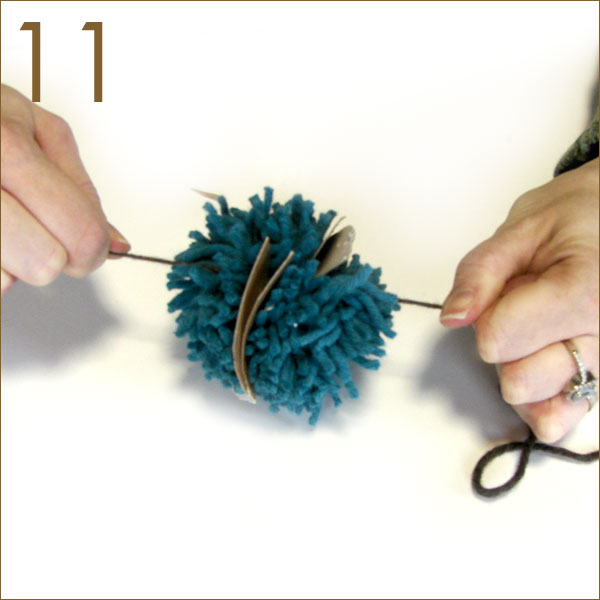
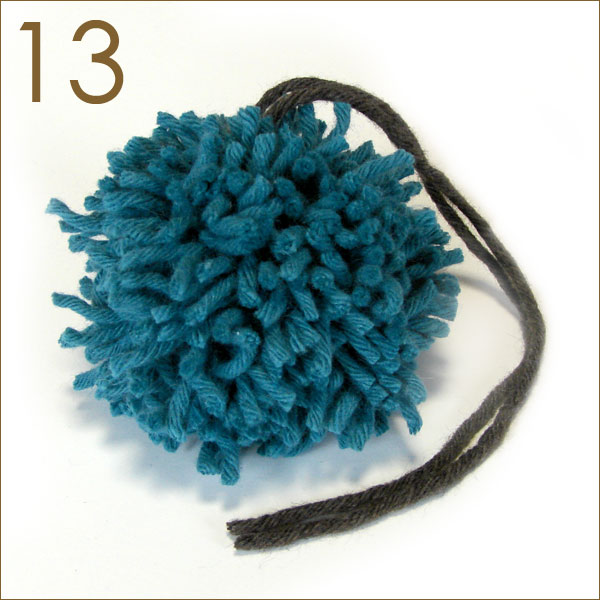
(Photos 10 and 11) pattern image pattern image Once the yarn is secure, slide the cardboard out of the pom-pom.
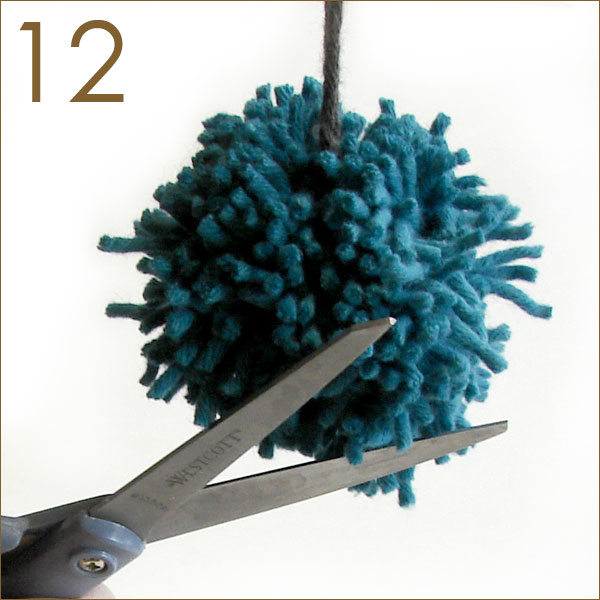
Fluff the pom-pom and trim where needed. (Photos 12 and 13) Voila!

![]()